Time Lapse Part 2
05th March 2014
Part 2 of a tutorial on creating a time lapse video.

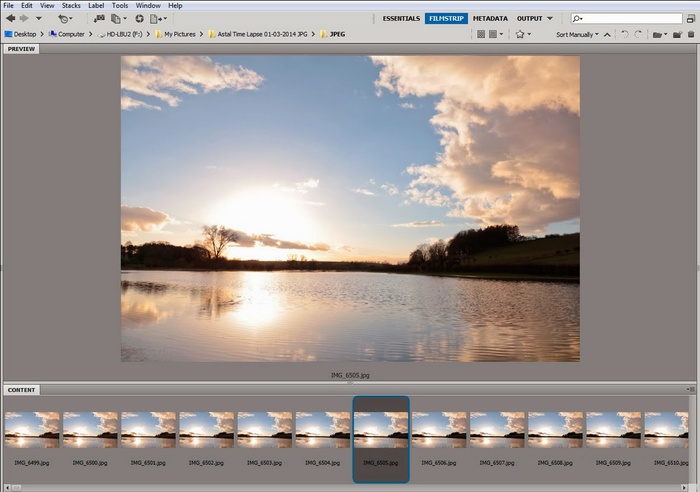
So now the images have been taken for the time lapse video, it’s on to part two of the tutorial and we look at how those images are processed and combined to create the finished movie. We’ll be using Adobe Bridge, Camera Raw and Photoshop, before moving onto Windows Movie Maker.
Read full blog post

So now the images have been taken for the time lapse video, it’s on to part two of the tutorial and we look at how those images are processed and combined to create the finished movie. We’ll be using Adobe Bridge, Camera Raw and Photoshop, before moving onto Windows Movie Maker.
Read full blog post